How to Add a Withdrawal Button to Shopify for Free: Step-by-Step Guide
Add a withdrawal button to Shopify for free: create the form with Shopify Forms, send the confirmation via Flow and place the button visibly.
In short
- Free solution: Shopify Forms, Shopify Flow and Flow Mail, all free and available directly in Shopify.
- Form: You create a withdrawal form with name, email and order number as required fields and a success message.
- Confirmation email: The customer automatically receives an email confirming that their withdrawal was received, with date and time.
- Button: You place the withdrawal button visibly in the footer and in the customer account.
- Legal check: This guide covers the technical setup. Please verify the wording and placement with your legal advisor.
From 19 June 2026, online shops selling to consumers in the EU need a withdrawal button (Directive (EU) 2023/2673, in Germany § 356a BGB). Many store owners know this but aren't sure how to set it up technically. The setup below uses free tools from the Shopify App Store and works without a paid app or a developer.
Prerequisites & tools required
You need access to your Shopify admin and three free apps from the Shopify App Store.
The first setup takes around 30 to 45 minutes.
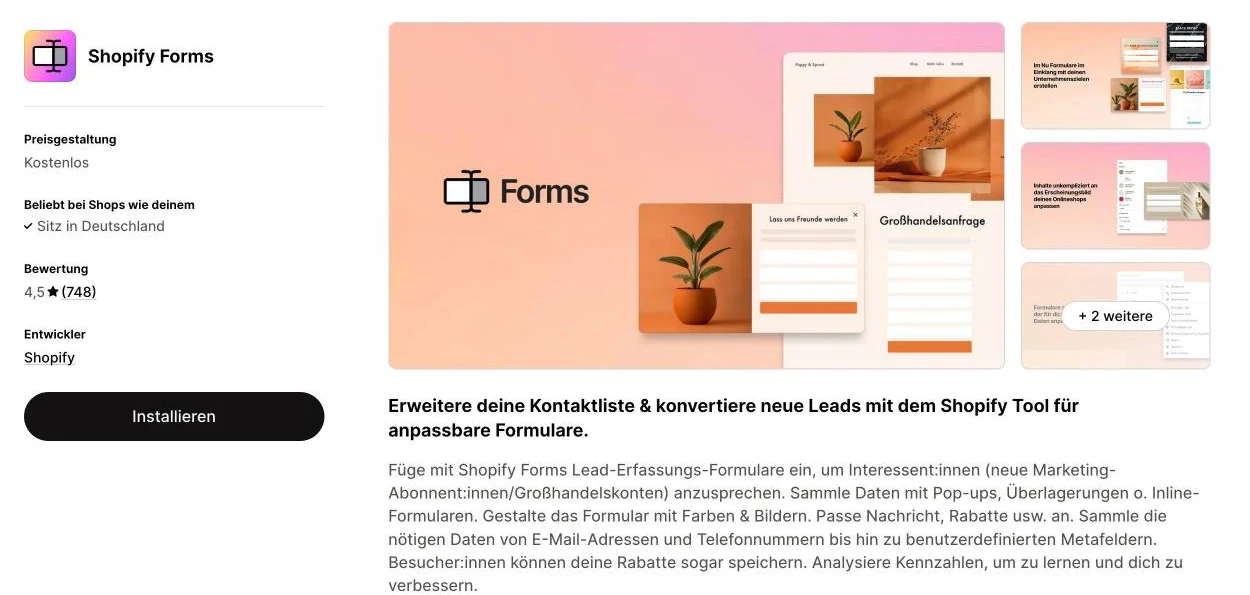
Step 1: Install Shopify Forms
Install Shopify Forms from the App Store
- Go to the Shopify App Store and install Shopify Forms.
- After installation, open the app and click Create form.
- Choose Inline form.
- Give it a name, e.g. Withdrawal Form
Step 2: Create the withdrawal form
Configure fields, settings and success message
- Add these required fields: First Name, Last Name, Email, Order Number
- For Order Number: single-line text field, required, hint text: "Please include the # sign"
- Don't add any further fields, such as a reason for withdrawal. § 356a BGB only allows name, contract details and an electronic contact.
- Make sure the form is not a newsletter form; marketing must be disabled
- Set a success message, e.g.: "Your withdrawal request has been submitted. We will send you a confirmation by email."
- Enable the option to receive a notification when the form is submitted
- Save and activate the form
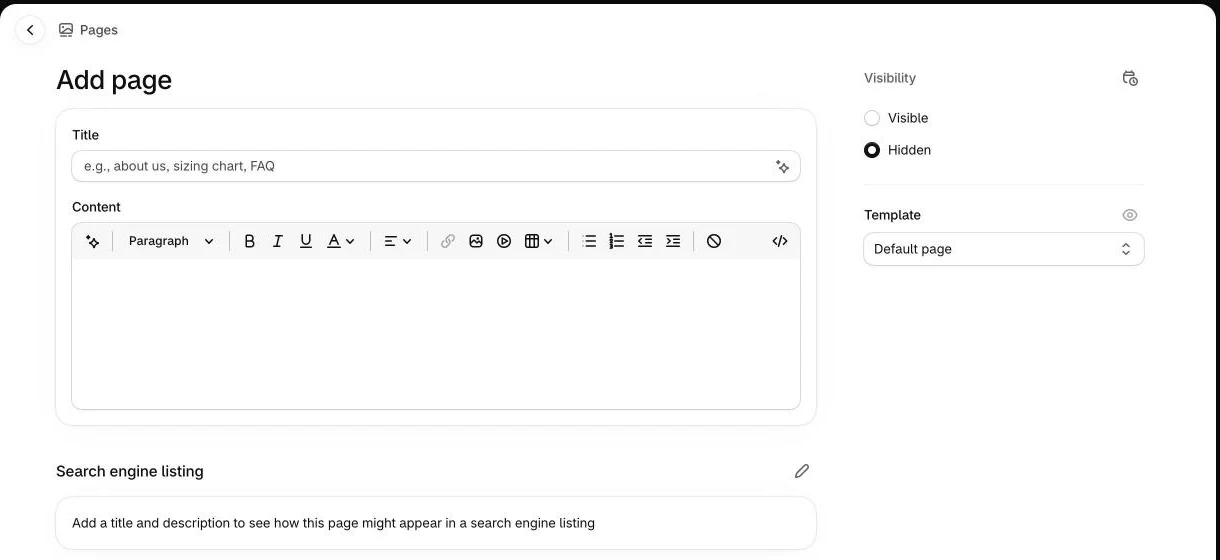
Step 3: Create a new page for the withdrawal form
Create the page in Shopify
- Go to Online Store → Pages → Add Page
- Page title: e.g. Withdrawal Form
- URL:
/pages/withdrawal-form - Set the page to visible
- Fill in the metadata cleanly (page title + description)
- Don't assign a template yet; that happens in Step 4
Step 4: Create a custom page template in your theme
Create a template and embed the form
- Go to Online Store → Themes → Customise
- In the Theme Editor, open page templates and create a new template based on the default page, e.g.
page.withdrawal-form - Make sure you're editing the new template (not the default page)
- Add a text or rich text block and set the page heading as H1: Withdrawal Form
- Add an app block: Apps → Shopify Forms
- Enter the Form ID from Step 2
- Adjust colours, spacing and styling to match your theme
- Save the template
Then go back to the page from Step 3 and assign the new template: scroll down to Template and select the new page template, then save.
Step 5: Set up the confirmation email
Customers must receive an acknowledgement of their withdrawal without undue delay. This runs through Shopify Flow and Flow Mail.
Install Shopify Flow & Flow Mail
- Install both apps from the App Store: Shopify Flow and Flow Mail
- In Flow Mail: enable email sending, customise branding (logo, colours, sender address)
Create a workflow in Shopify Flow
- Open Shopify Flow → Create workflow
- Set the trigger: Metaobject Entry Created
- Select the metaobject type matching your withdrawal form
Shopify Forms saves submissions as metaobjects. Each submission creates a new metaobject entry, which starts your workflow automatically.
Create the confirmation email
- As the action select: Send transactional email by Flow Mail
- Recipient: insert the email address from the form using a variable; the email goes directly to the customer
- Email content: confirmation of receipt, the content of the withdrawal (name, order number), the date and time of receipt, next steps, contact option for questions
- Include your legal notice and relevant policy information
- Name the workflow, e.g.: Withdrawal Confirmation
- Activate the workflow
Step 6: Test everything
Run a full test before going live
- Fill out the withdrawal form yourself and submit it
- Does your internal notification arrive?
- Is the metaobject entry created in Shopify?
- Is the automatic confirmation email sent to the submitted address, with the content of the withdrawal and the date and time?
- Does the form page display correctly on the frontend?
- Are all required fields properly marked as required?
Only make the withdrawal button publicly visible once everything works correctly.
Step 7: Place the withdrawal button visibly in your store
Customers need to find the button easily, so a link buried in your terms won't do. Place it in at least two locations.
Create a menu item
- Go to Content → Menus
- Add a new menu item linking to
/pages/withdrawal-form - Label: for German stores Vertrag widerrufen, in English Withdraw from contract here, or an equivalent unambiguous wording. Vague labels like Right of withdrawal are not a clear call to action.
- Verify the correct wording with your legal advisor
Add to the footer
- Add the menu item to your footer navigation
- If your theme supports a button block in the footer: embed it directly as a button
- If not: add the menu item and style it as a button using CSS (clear background, clearly clickable, stands out from regular footer links)
- After saving, check the frontend: is the button visible and clickable?
Add to the customer account
- If customer accounts are enabled: go to Content → Menus and add a menu item linking to the withdrawal form page
- Customers will find the button directly after logging in
Step 8: Update your withdrawal policy
Add a note to your Shopify policies
- Go to Settings → Policies
- In your Refund/Withdrawal Policy, add a note that customers can also submit their withdrawal via the withdrawal button or form
- Include a direct link to the form page in the text
That way your legal documents point customers to the form as well.
Summary
The eight steps in short:
- Install Shopify Forms and create the form
- Configure fields, disable marketing, set a success message
- Create a new page for the form
- Create a custom template in your theme, embed the form
- Set up Shopify Flow + Flow Mail, automate the confirmation email
- Test the full process end-to-end
- Place the withdrawal button visibly in footer and customer account
- Update your withdrawal policy to reference the form
The setup has no ongoing app costs and needs no developer. If you prefer a ready-made app with a confirmation step, EasyWiderruf (widerruf.app) is one option.

Maik GossenShopify freelancer from Germany. I build, move and maintain Shopify stores and developed the EasyWiderruf app.